


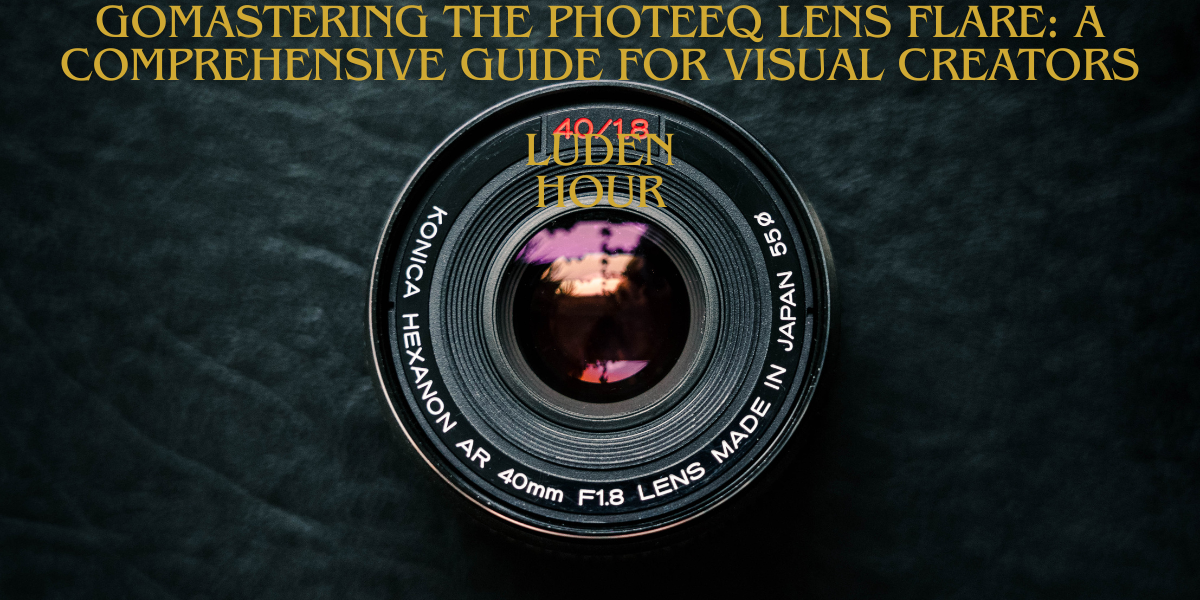
In the fast-paced world of digital photography and creative editing, lens flare is often a hotly debated topic. While some professionals avoid it, others embrace it as a tool to add depth, warmth, and cinematic beauty to an image. Among the tools that help achieve this effect, Photeeq Lens Flare has risen in popularity for its intuitive interface and versatile output. In this article, we dive deep into what Photeeq Lens Flare offers, how to use it effectively, and why it should be a core part of your visual design toolkit.
Introduction
In the realm of professional photography and digital image editing, light is more than just a technical element — it’s a powerful tool for creative storytelling. Among the many techniques used to enhance imagery, lens flare effects stand out for their ability to bring warmth, depth, and cinematic drama to a visual composition. For designers and photographers looking to achieve high-impact lighting effects with ease and precision, Photeeq Lens Flare emerges as a top choice.
This powerful plugin allows users to simulate realistic lens flare patterns that mimic the behavior of light in high-end camera lenses. Whether you’re working on a bold commercial shoot, a moody film scene, or a dreamy portrait, Photeeq Lens Flare delivers stunning results with full customization and professional-grade rendering. In this comprehensive guide, we explore everything you need to know about Photeeq — from its features and use cases to expert tips and FAQs — to help you unlock the full potential of your visual projects.
What is Photeeq Lens Flare?
Photeeq Lens Flare is a specialized photo editing plugin designed to replicate realistic and dynamic lens flares. Built for photographers, digital artists, and graphic designers, it provides a library of customizable flares that mimic real-world lighting conditions. It works seamlessly with popular editing software, providing unmatched ease of use and powerful rendering capabilities.
Read more: Transform Your Outdoor Space with robert mygardenandpatio-Inspired Solutions
Why Use Lens Flares in Photography and Design?
Lens flares are not just artifacts — they are a creative decision. When applied intentionally, they:
- Enhance visual storytelling
- Introduce a sense of atmosphere
- Add realism to digital scenes
- Direct viewer focus
- Create mood and warmth
Photeeq Lens Flare excels at giving users the ability to apply these effects with precision and aesthetic control, ensuring the result enhances, rather than distracts from, your composition.
Read more: When Does Ross Restock A Complete Guide for Smart Shoppers
Key Features of Photeeq Lens Flare
1. Wide Selection of Flare Types
Photeeq offers a diverse collection of lens flares, including:
- Anamorphic flares for cinematic looks
- Radial flares for portrait enhancements
- Streak flares for sci-fi and motion effects
- Ghosting artifacts for realism
Each flare is designed with high dynamic range for professional output and integrates seamlessly into both photos and video frames.
Read more: When Does Ross Restock A Complete Guide for Smart Shoppers
2. Customization Controls
One of Photeeq’s standout strengths is its granular control over flare behavior:
- Brightness and intensity
- Color shifts
- Blend modes
- Angle of incidence
- Size and scale
This level of control allows artists to simulate how light interacts with different lenses and environmental settings.
Read more: When Does Ross Restock A Complete Guide for Smart Shoppers
3. Real-Time Preview Integration
Photeeq’s real-time preview allows users to see exactly how a lens flare will behave before applying it. This drastically improves workflow efficiency and reduces the need for back-and-forth editing.
4. Seamless Software Compatibility
Photeeq Lens Flare integrates well with major design platforms:
- Adobe Photoshop
- Adobe After Effects
- Adobe Premiere Pro
- CorelDRAW
- Affinity Photo
This cross-platform capability means creatives can stay in their preferred workspace without needing to export or convert files.
Read more: The Ultimate Guide to www thes oundstour.com: Dates, Venues, Tickets & Insider Tips
How to Use Photeeq Lens Flare Like a Pro
Step 1: Choose the Right Flare for Your Scene
Assess the natural or artificial light source in your composition. Use a subtle radial flare for sunset images or a dramatic streak flare for action-heavy visuals. Match the flare’s orientation to the light source to maintain realism.
Read more: Kevin Corke Spouse: Everything You Need to Know About the Private Life of the Esteemed Journalist
Step 2: Adjust Flare Properties Thoughtfully
Use the customization panel to tweak settings such as:
- Opacity for subtle application
- Hue to match scene temperature
- Positioning to align with light source
- Blend mode for natural overlay (e.g., Screen, Soft Light)
Step 3: Test Across Devices
Preview your edits on different screens. Lens flares can appear more intense or washed out depending on resolution and screen brightness. Adjust accordingly for consistency.
Read more: Maine Cabin Masters Lawsuit: What Really Happened Behind the Scenes
Creative Applications of Photeeq Lens Flare
Cinematic Photography
Photeeq enables users to inject a film-grade aesthetic with light streaks and glares that evoke Hollywood-style visuals. This works especially well in portraiture, urban night scenes, and vintage re-creations.
Digital Illustration and Concept Art
For digital painters and concept artists, lens flares add lighting realism to fantastical environments, spacecraft, magical effects, or sci-fi settings. Photeeq helps artists balance light physics with creative vision.
Marketing and Branding Materials
Marketers use Photeeq to make products appear vibrant, dynamic, and attention-grabbing. By positioning flares near the focal point, designers can draw the eye toward calls-to-action or product highlights.
Read more: Start Blog redand whitemagz. com – Everything You Need to Know
Tips to Avoid Overusing Lens Flares
While Photeeq offers powerful tools, the art lies in subtlety. Here are best practices:
- Don’t overpower the subject – Flares should complement, not dominate.
- Use consistent lighting logic – Align flares with actual light sources.
- Avoid using multiple flares in the same frame unless the scene justifies it.
- Reduce intensity for mobile optimization — what looks perfect on a desktop may overwhelm smaller screens.
Comparison: Photeeq Lens Flare vs. Other Plugins
| Feature | Photeeq Lens Flare | Boris FX Optics | Knoll Light Factory | Lens Distortions |
|---|---|---|---|---|
| Ease of Use | ★★★★★ | ★★★★☆ | ★★★☆☆ | ★★★★☆ |
| Customization | ★★★★★ | ★★★★☆ | ★★★☆☆ | ★★★★☆ |
| Compatibility | Adobe Suite + More | Adobe Suite | Adobe Suite | Limited |
| Real-Time Preview | Yes | No | Limited | Yes |
| Preset Variety | Wide | Medium | High | Medium |
| Price-to-Performance Ratio | Excellent | High | Medium | High |
Photeeq stands out for its balance between usability, depth, and affordability, making it ideal for both beginners and seasoned creatives.
Where to Download Photeeq Lens Flare
Photeeq was initially available as a plugin from official sources. If it’s currently unavailable or discontinued, several mirror sites and creative communities may still offer it. Make sure to download from reputable sources to avoid malware or compatibility issues.
If you’re unable to find it, consider using alternative flare plugins that offer similar customization. However, for those who still have access, Photeeq remains a gold standard for lens flare editing.
Read more: onthisveryspot fibertel: A Comprehensive Guide to Argentina’s Leading ISP
Conclusion: Elevate Your Visual Content with Photeeq Lens Flare
For creatives looking to transform flat images into cinematic experiences, Photeeq Lens Flare is an indispensable tool. Its unmatched ease of use, robust features, and seamless compatibility make it the go-to plugin for professionals. Whether you’re working on portraits, films, or marketing visuals, Photeeq equips you with the ability to manipulate light in a way that adds emotion, depth, and professionalism to your visuals.
Mastering lens flares is no longer an advanced skill — with Photeeq, it’s a few clicks away.
FAQs
Q1: Is Photeeq Lens Flare still available for download?
A: Photeeq Lens Flare was widely popular, but as of recent years, official sources may no longer offer direct downloads. However, trusted photography forums or mirror sites might still have the plugin. Always ensure you’re downloading from secure, reputable sources to avoid malware.
Q2: Is Photeeq Lens Flare compatible with Windows 11 and macOS Ventura?
A: Photeeq Lens Flare was widely popular, but as of recent years, official sources may no longer offer direct downloads. However, trusted photography forums or mirror sites might still have the plugin. Always ensure you’re downloading from secure, reputable sources to avoid malware.
Q3: Can I use Photeeq Lens Flare in Adobe Lightroom?
A: No, Photeeq is not compatible with Adobe Lightroom. It is mainly designed for Photoshop and other layer-based software where plugin effects can be manually placed and adjusted.
Q4: What alternatives can I use if Photeeq is not working?
A: Some excellent alternatives to Photeeq include:
Boris FX Optics
Knoll Light Factory
Lens Distortions
Optical Flares by Video Copilot (for After Effects)
These offer modern features and continued support across operating systems.
Q5: Does Photeeq support non-destructive editing?
A: Photeeq works as a plugin, and most of its effects can be applied on separate layers, allowing for non-destructive editing workflows. It’s always best to duplicate your layer or apply effects on a new layer to maintain flexibility.
Q6: Is Photeeq suitable for beginners in photo editing?
A: Yes, Photeeq is beginner-friendly with a simple interface and intuitive controls. Even those new to lens flares can create impressive results quickly without a steep learning curve.
Q7: Can Photeeq Lens Flare be used in video editing projects?
A: While it is primarily designed for still images, Photeeq can be used in video workflows via tools like Adobe Premiere Pro or After Effects, especially if your version supports the plugin or you use it as a static overlay with animation.